Flexible Garden Netting Tunnel Kits Complete With Choice Of Covers
Flexible Garden Netting Tunnel Kits Complete With Choice Of Covers - Black Bird Netting / 2.9m is backordered and will ship as soon as it is back in stock.
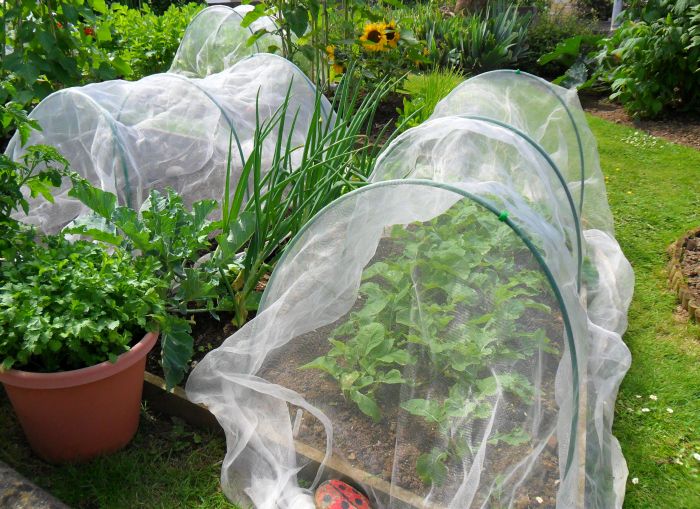
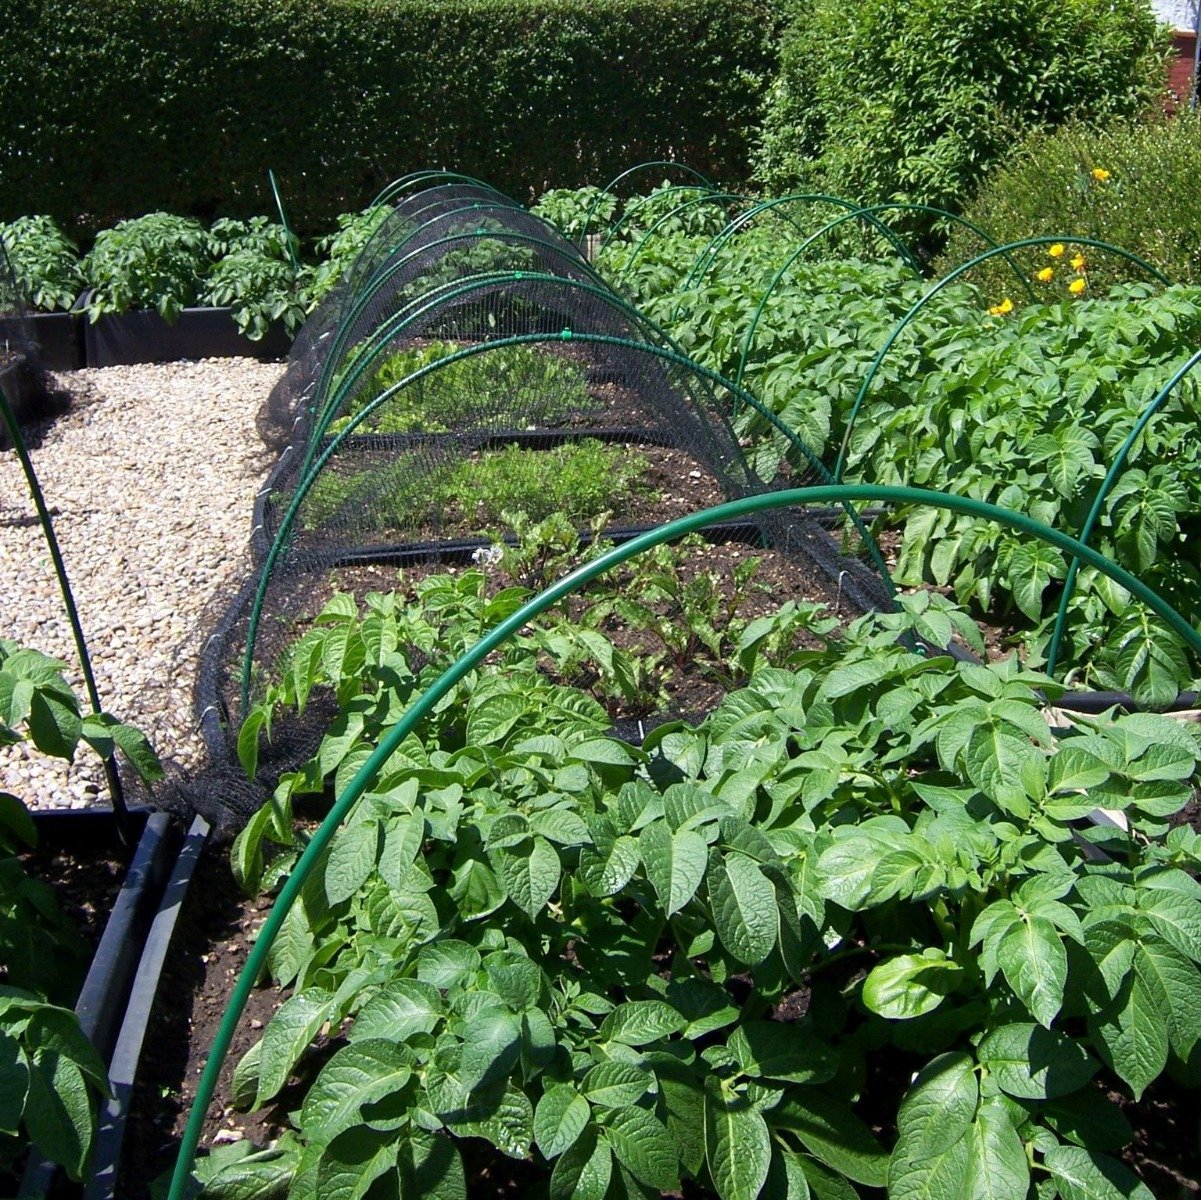
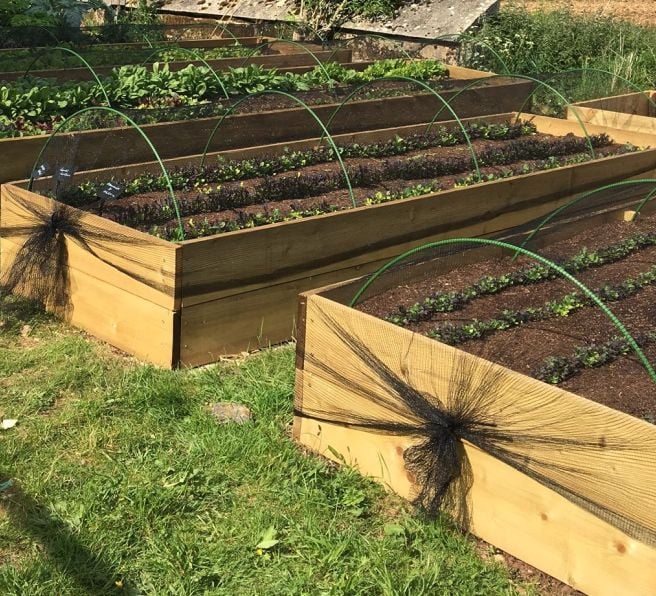
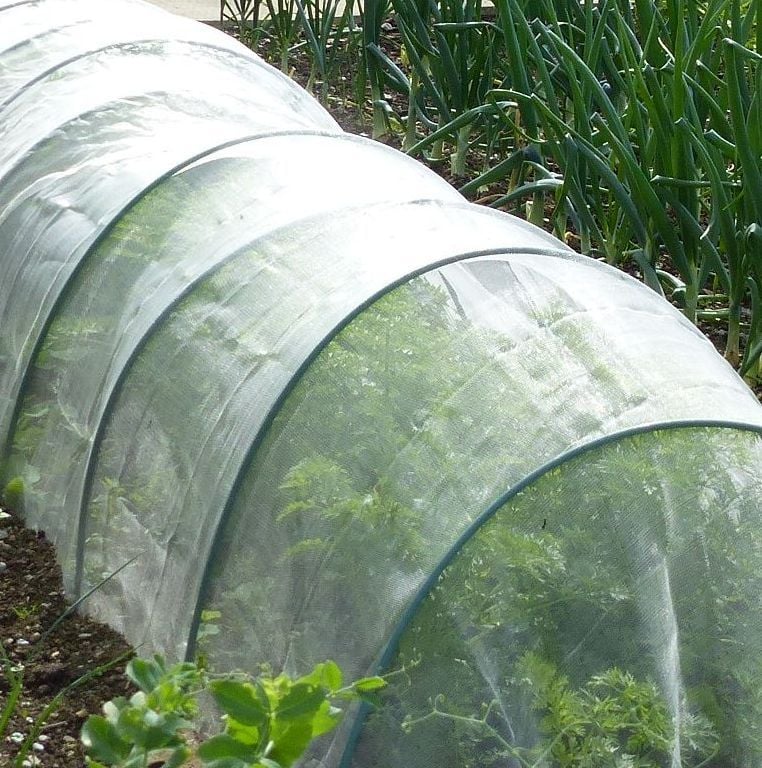
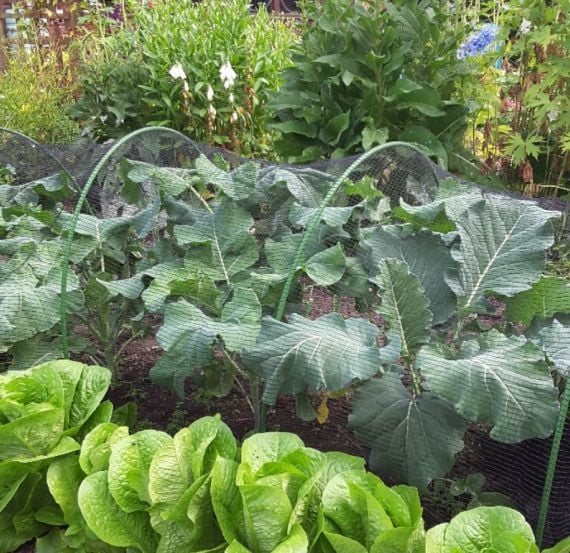
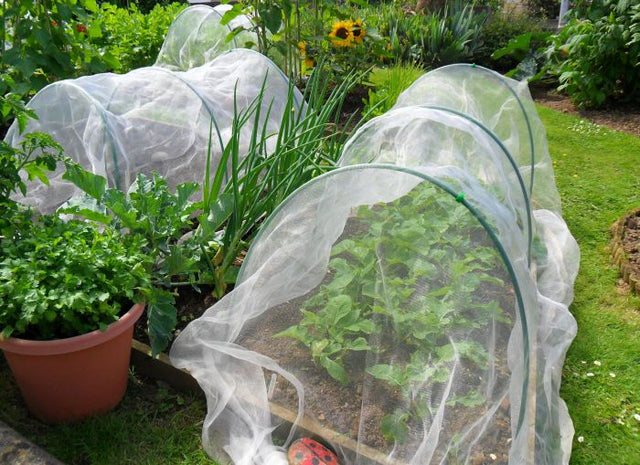
Our garden netting cloches and netting tunnels for plants provide a simple way to protect crops throughout the year. Each plant tunnel kit includes everything you need to assemble and maintain a productive growing space. You can easily change the cover depending on the season or growing needs, with no need to purchase separate tunnels.
Garden Tunnels For Plants With Interchangeable Covers
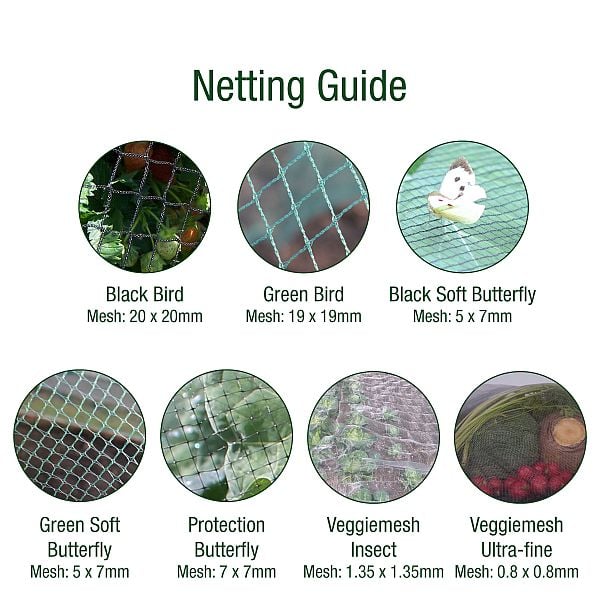
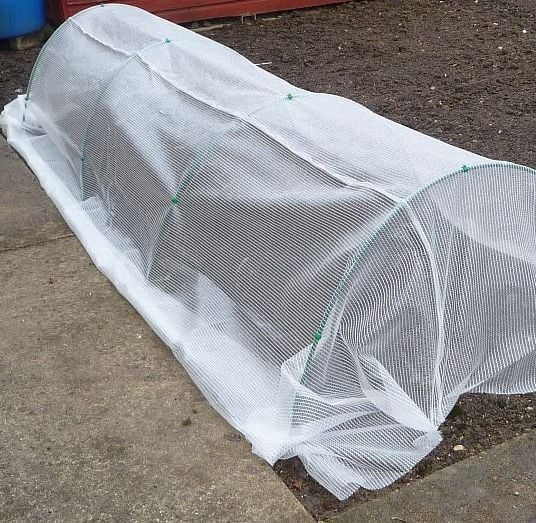
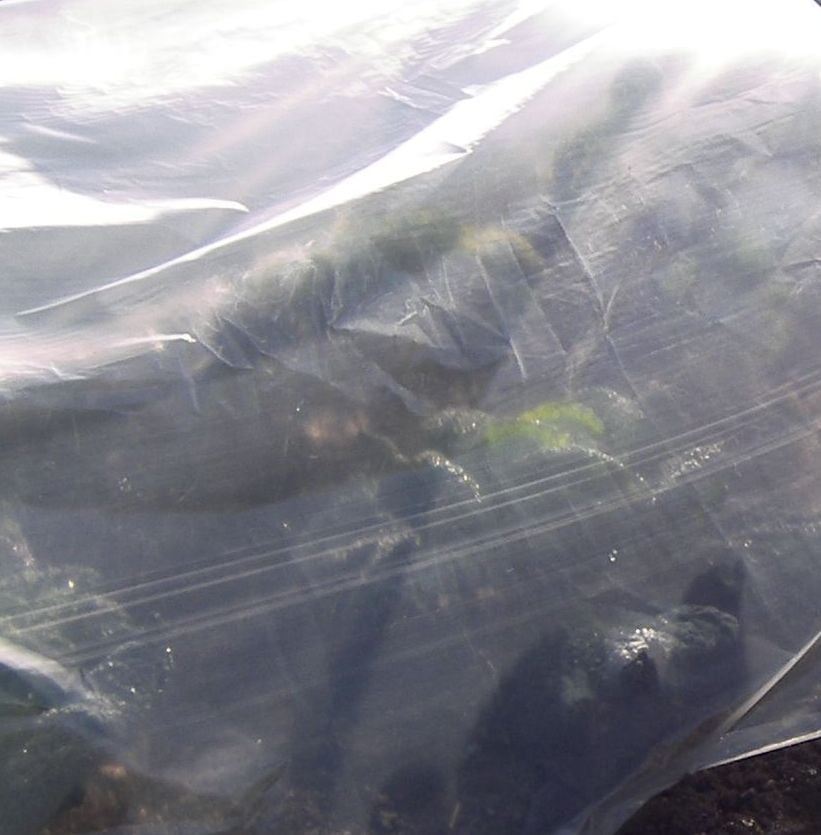
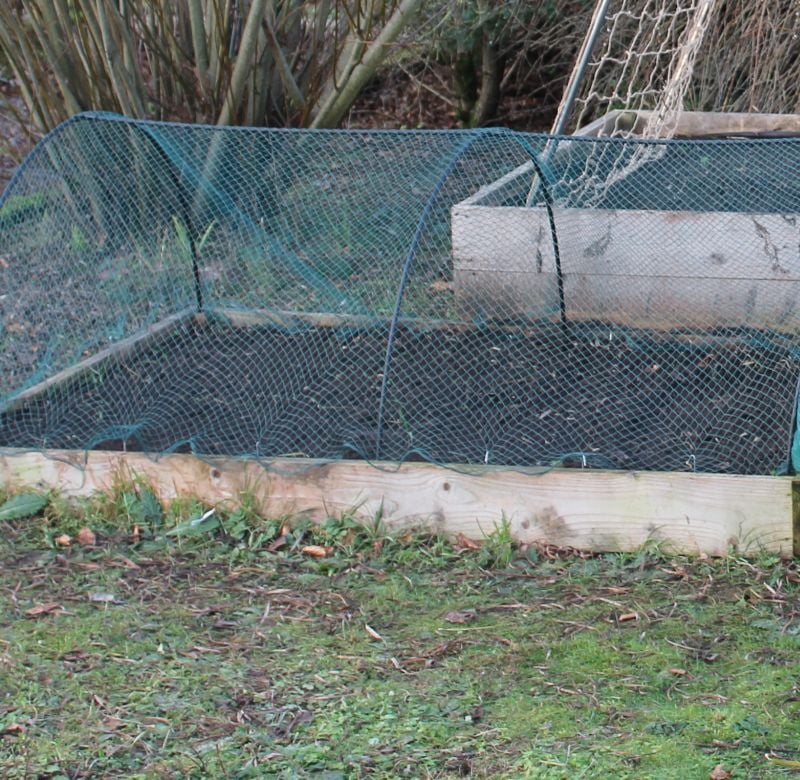
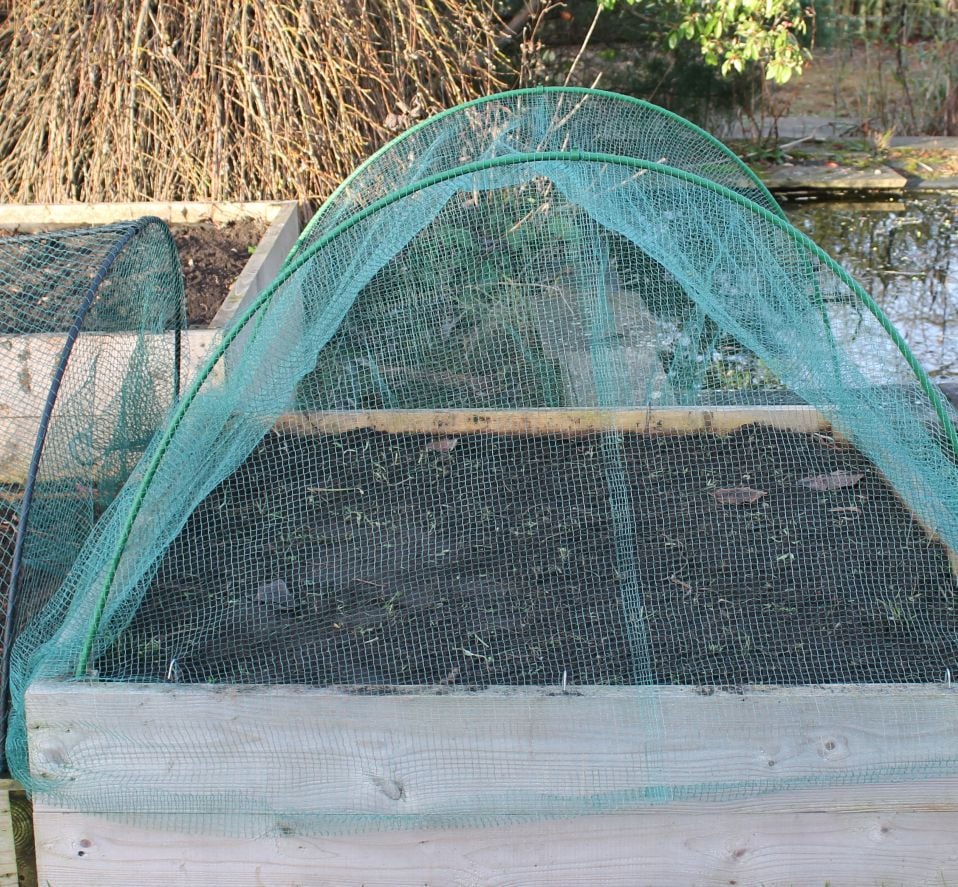
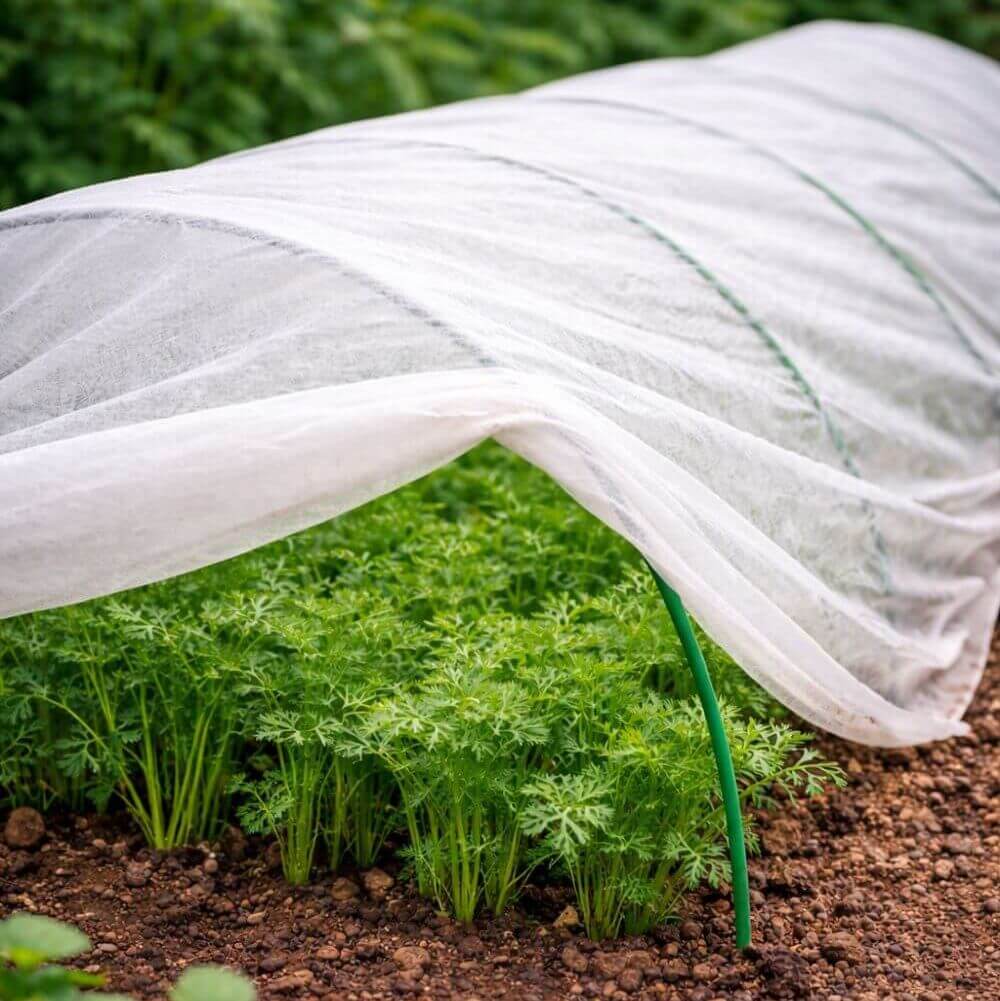
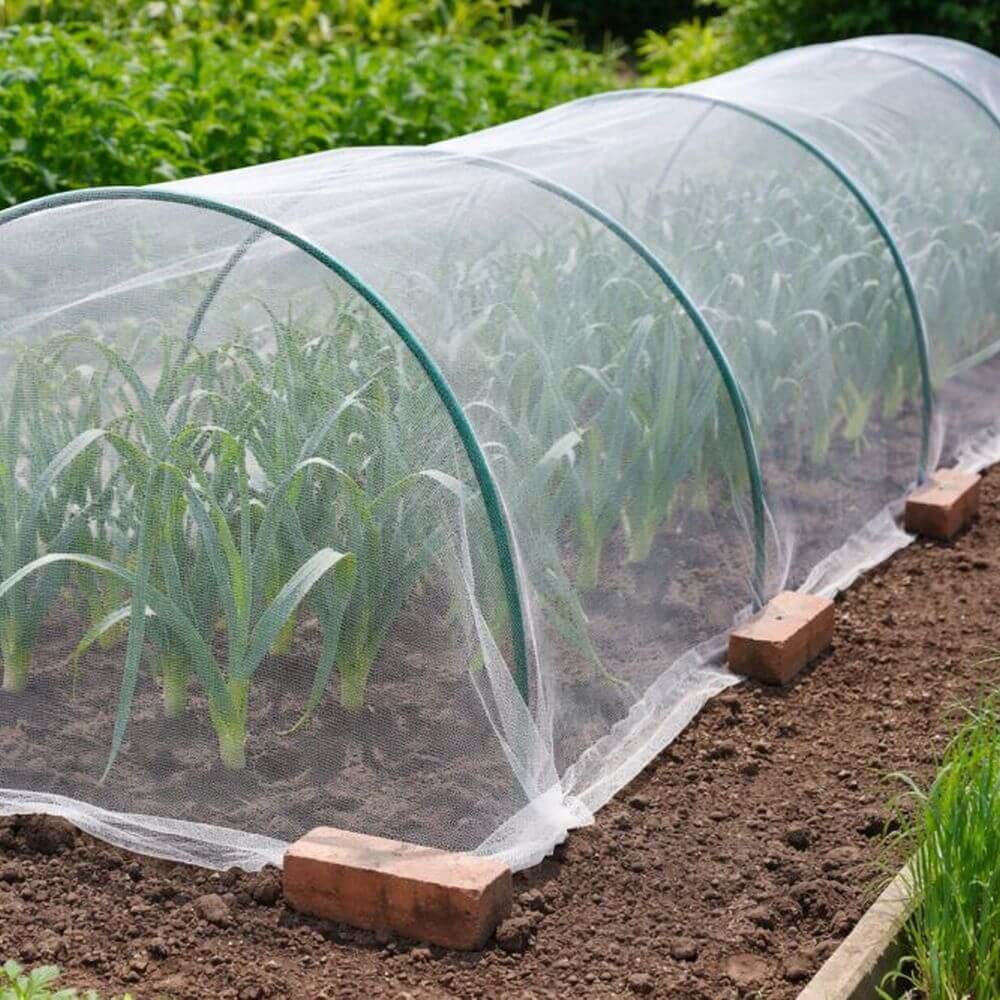
Our garden tunnels for plants come with a choice of eight covers to match different growing conditions. Select from polythene, Thermacrop, or 30g garden fleece for frost protection; veggiemesh or soft butterfly netting for insect control; or black or green bird netting to keep birds away. Additional covers are available separately via our hoop tunnel covers range.
Plant Cloches In Multiple Lengths And Sizes
Choose from four tunnel lengths:
- 2.9m includes 4 hoops, 8 anchors, 12 clips, 4 steel pegs and your chosen cover
- 3.9m includes 5 hoops, 10 anchors, 15 clips, 4 steel pegs and your chosen cover
- 4.9m includes 6 hoops, 12 anchors, 18 clips, 4 steel pegs and your chosen cover
- 5.9m includes 7 hoops, 14 anchors, 21 clips, 4 steel pegs and your chosen cover
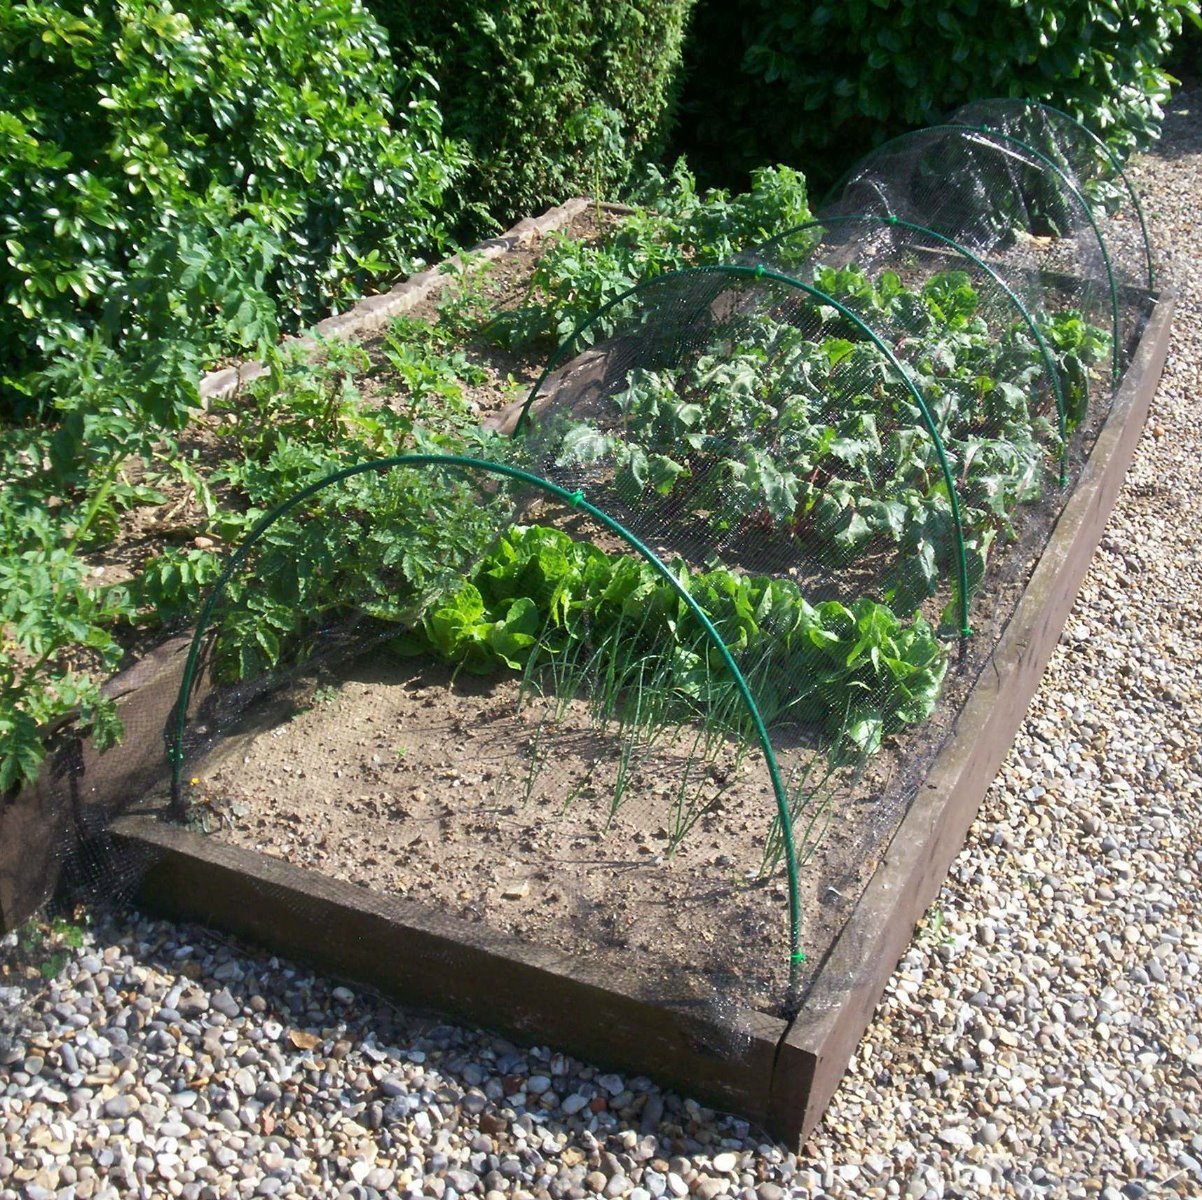
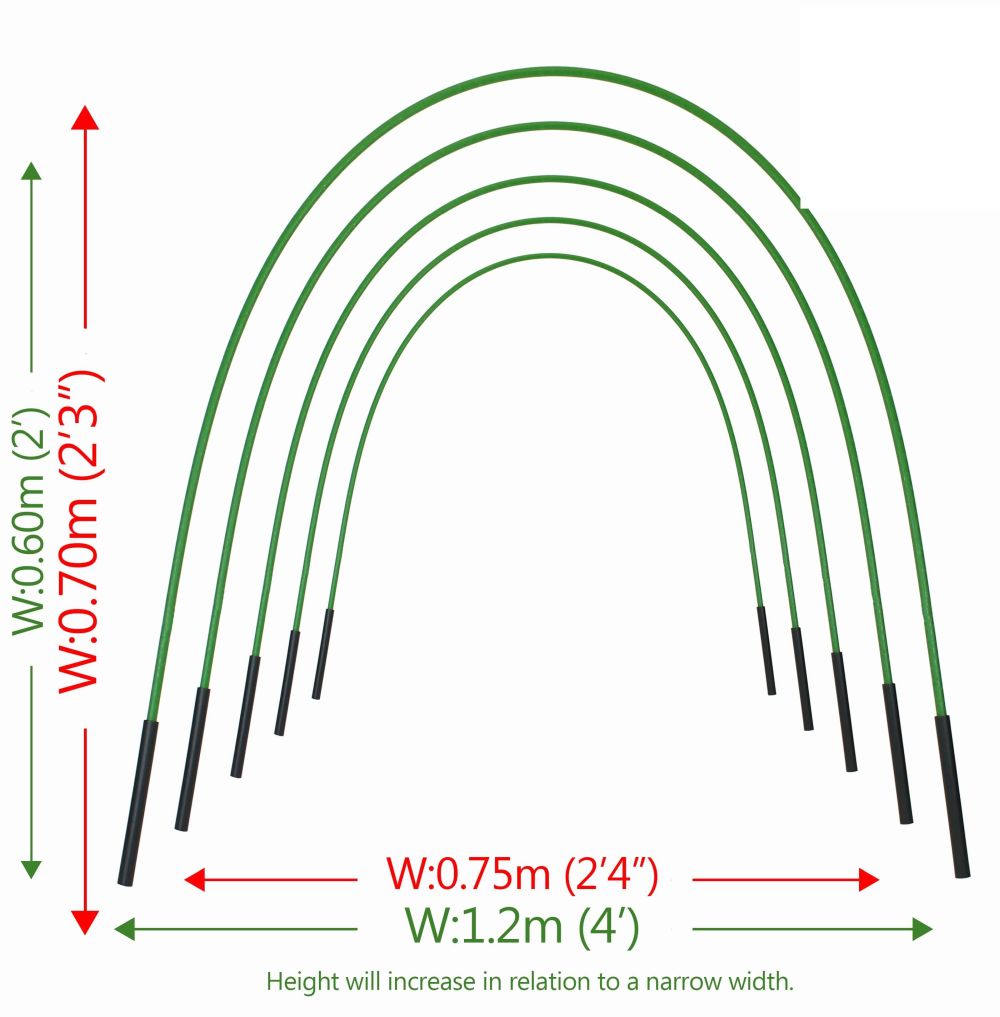
Each hoop measures 10mm in diameter. When erected at 1.2m (4ft) wide, the tunnel stands approximately 600mm (2ft) high. Hoops can be spaced between 750mm and 1m apart and adjusted to 75cm width for slightly more height.
Easy To Assemble Netting Tunnels For Garden Use
These netting tunnels are quick to set up, requiring no specialist tools. Every kit contains hoop rods, joiners, netting, and clips. The anchors provide extra support for the hoops, ensuring your plants remain covered and protected in variable weather. Whether for vegetables, herbs, or young plants, these tunnels offer year-round flexibility.
All In One Plant Tunnel Kits For Every Growing Season
Our plant cloches/garden tunnels for plants make it simple to switch between covers as your crops grow or the weather changes. From frost to insects or birds, you can adapt your setup in minutes to maintain ideal growing conditions.
Frequently Asked Questions on Garden Netting Tunnels
Can I Use Different Covers On The Same Frame?
Yes. The tunnel frame supports all eight cover types, allowing you to change covers easily without buying new tunnels.
How Do I Choose The Right Cover For My Plants?
Garden Polythene, Thermacrop, and fleece covers provide warmth and frost protection. Veggiemesh and butterfly netting protect against insects, while black or green bird netting prevents bird damage.
What Size Tunnel Should I Buy?
Measure your planting area to select the appropriate tunnel length. The 2.9m size suits small beds, while 5.9m works well for longer rows.
How Should I Space The Hoops?
Hoops should be spaced 750mm to 1m apart.
Are Replacement Parts Available?
Yes, replacement covers and parts are available separately, making it easy to refresh or extend your tunnel system as needed.
Reviews
Reviews
Specifications
Specifications
If the hoops are erected 1.2m (4ft) wide they will stand approx. 600mm (2ft) high. Space at approx 750mm - 1m apart. The hoops will go as narrow as 75cm wide.
2.9m long includes: 4 hoops, 12 clips, 4 steel pegs and your choice of cover
3.9m long includes: 5 hoops, 15 clips, 4 steels pegs and your choice of cover.
4.9m long includes: 6 hoops, 18 clips, 4 steel pegs and your choice of cover.
5.9m long includes: 7 hoops, 21 clips, 4 steel pegs and your choice of cover.
How To Use
How To Use
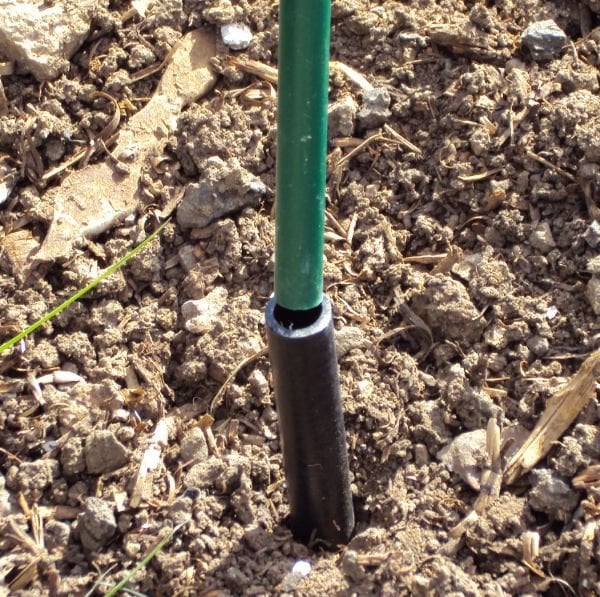
Select the starting point in your garden and insert the first anchors into the soil. Measure 1.2m (for the width of your tunnel) and insert the second anchor. You can go as narrow as 75cm on your width because the hoops are flexible.
Insert your first hoop into the erected anchors, taking care that the hoop does not spring back.
Continue this process to create your tunnel.
When all the hoops are erected, lay your netting over the top, securing with the clips.
Use two steel pegs at each end of the tunnel to finish securing the netting.
We have been generous with the fabric width allowing you to bury the sides or use stones if necessary.
